first encounter with cabbage worms

Just now, I took my daily walk of the garden. Normally, my walk is very calm. Lots of “yay! another onion sprouted” and “finally! the radishes appear” etc., etc. But today, I did a double take next to the leafy greens bed.

Cabbage Worms 1

What the **** is going on here?!

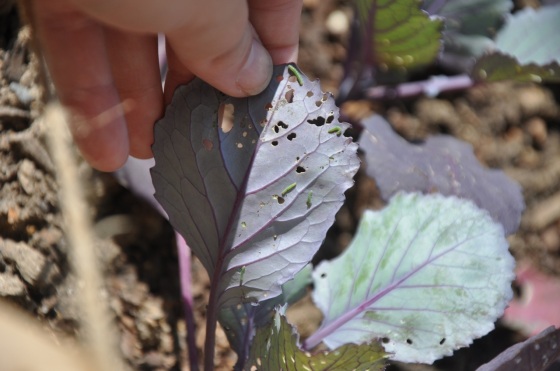
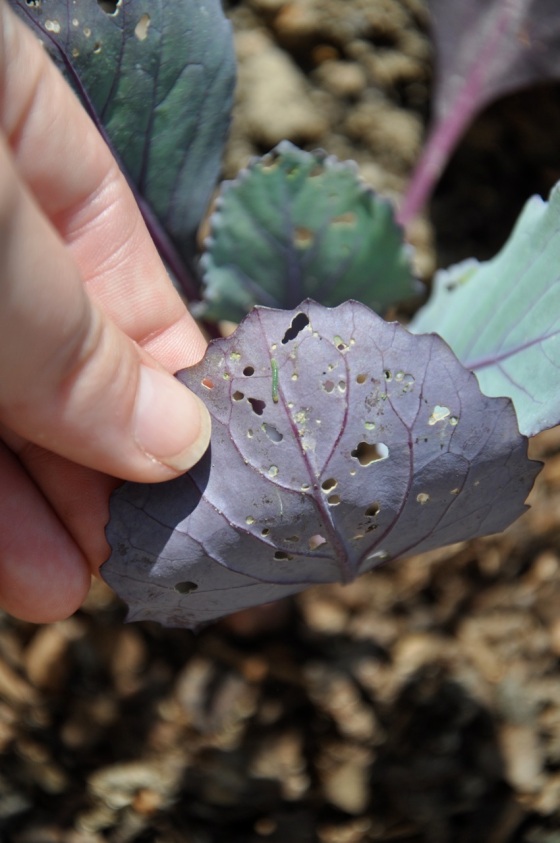
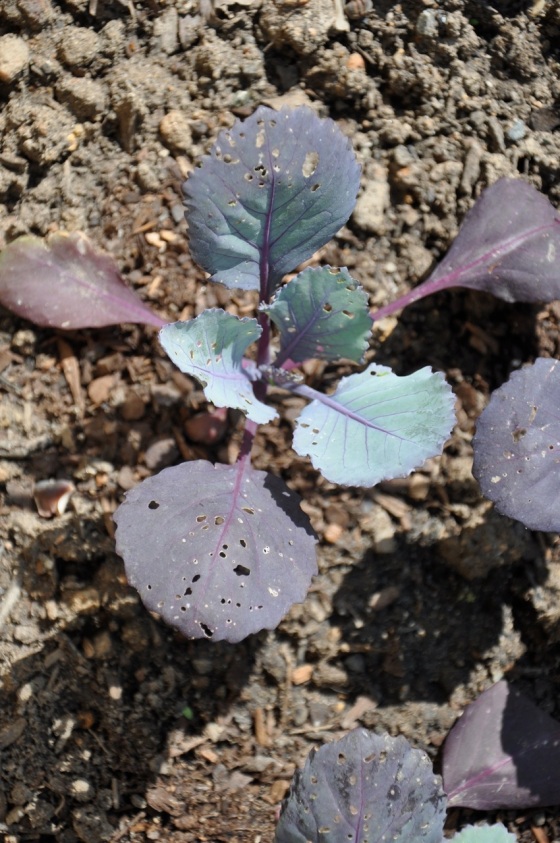
Yesterday, no holes. Today, the leaves look like swiss cheese. And not just on my red cabbage, but on my broccoli, cauliflower, and even the collard greens!

A bit of Googling “holes in brassica leaves” helped me figure out that perhaps cabbage worms were to blame. Still not sure, I ventured back to the garden with a heavy heart.

And then I spotted these little bastards.

Cabbage Worms 2

I mean, look at this. FIVE worms on the underside of my poor red cabbage.

It was not my finest hour, let me tell you. I said many words that I will not repeat here.

It’s good there were no children around.

Cabbage Worms 4

As promised, I spied both the hatched bright green caterpillars and their yet-to-hatch, bright yellow, oval-shaped eggs. (Which you can barely see if you click on the picture of collards below – the bright yellow spots on the underside of the leaf in the center, near the stem.) I still have yet to spy any white moths fluttering about the garden, though.

Regardless, there were many, many deaths. But it was quick – the swift but sure squish-them-against-the-wooden-side-of-the-garden-bed method.

I’m still hoping that my plants will be able to pull through. But I’m still on the lookout for these little *****.

Cabbage Worms 3

.

In the end, they ran from me. I think they knew the end was coming.

a quick note…

The Kitchenette will be down for a few days this week as she gets a facelift. (The blog, not the author – the author is way too poor for that.) Grab your recipes now, if you want them!

pan-fried chicken salad with honey mustard dressing

Pan-Fried Chicken Salad with Honey Mustard Dressing 1

I know, I know. You guys are probably like, but you just DID salad, Carter.

Yeah, well… welcome to my house. I’m not really all that creative.

(It’s why I picked food instead of fashion. Also, I can’t sew.)

Seriously, even Lindsay asked me what’s up lately:

Well, I’m in charge of cupcakes for the St. Patrick’s Day party this weekend. So there’s probably going to be booze AND dessert here on the blog soon. Possibly in the same dish, no less.

But for the meantime – back to salads. (You need to eat lots of salad to counteract all the green beer this weekend, right?)
Pan-Fried Chicken Salad with Honey Mustard Dressing 2mPan-Fried Chicken Salad with Honey Mustard Dressing 5

Last night, I emailed B asking him if he was going to make it home for dinner (if he doesn’t come home, I tend to default to a bachelorette-style bowl of noodles. Don’t judge me.) What are you going to make? he asked. Was thinking crispy chicken over salad greens… nothing fancy, I typed, hoping he wouldn’t remember we had eaten the same thing for dinner just last week, and probably the week before. One of my favorites, came his answer. Honey mustard dressing?

Well… crap. I’ve never made honey mustard dressing before.

But I HAVE made honey mustard dipping sauce before… meh, I’ll just wing it.
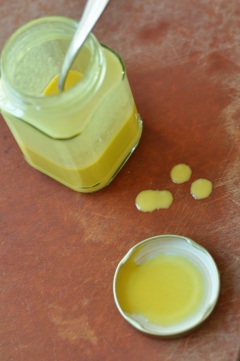
Pan-Fried Chicken Salad with Honey Mustard Dressing 4mPan-Fried Chicken Salad with Honey Mustard Dressing 6

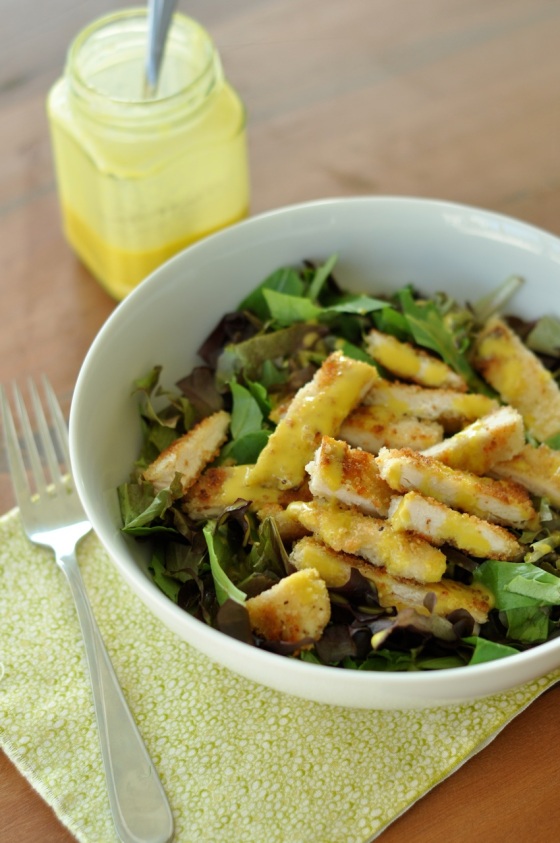
And although it might sound self-righteous, I have to say… this might be the best honey mustard dressing I’ve ever had. Tangy and not too sweet, and not so thick that it’s like trying to mix concrete into your salad greens. (I hate that.) With the crispy chicken, it’s like a grown up version of chicken nuggets. Minus the uncomfortable driver’s seat and soggy fries, of course.

We loved this dressing so much, it’s probably going to be the new default dressing ’round here for the next few weeks. But, should honey mustard not be your thing (not everyone likes mustard – I don’t know who you are or what’s wrong with you, but I know you’re out there) this goes perfectly with the balsamic vinaigrette or champagne vinaigrette I featured the other day.

.

Pan-Fried Chicken

Serves 2

1/4 pound chicken tenderloins (or chicken breast, trimmed of fat and sliced laterally into 1/4-inch-thick pieces)
2 tablespoons flour
1 teaspoon salt
1/2 teaspoon pepper
a pinch cayenne, optional
1 egg, lightly beaten
1 tablespoon milk or water
1 teaspoon dijon mustard
1/2 cup panko
1/4 cup grated parmesan
1 tablespoon safflower oil or other high-heat oil
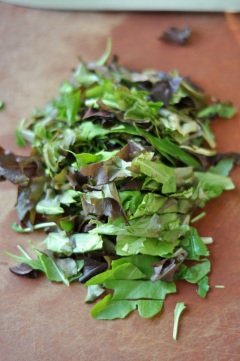
chopped mixed greens and honey mustard dressing, to serve

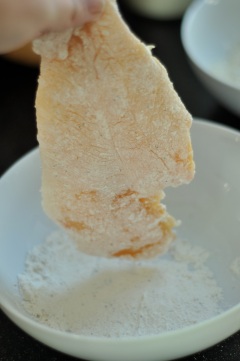
Combine flour, salt, pepper, and cayenne in a wide, shallow bowl, and stir to mix. Whisk together egg, milk or water, and mustard in a second bowl. In a third bowl, mix panko and grated parmesan together. Dip each piece of chicken into flour mixture, coating lightly. Shake off excess flour and dip each piece into the egg mixture. Shake off excess and finally dip each piece into panko mixture. Press panko mixture onto chicken with your fingers. Put coated pieces of chicken in a single layer on a baking sheet or plate. Ideally, place your baking sheet or plate in the fridge for about 10-15 minutes – it will help the crumbs adhere to the chicken during cooking – although if you don’t have time, skip the refrigerator.

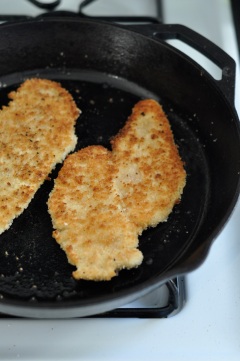
Heat safflower oil in a large skillet over medium-high heat. When you think the oil is hot, drop a few stray panko crumbs into the pan – if they start to sizzle and brown immediately, your oil is hot enough. Carefully place chicken in pan in a single layer, and cook for 2-3 minutes or until golden brown. Turn chicken to other side using tongs or a fork, and cook another 2 minutes, or until browned. Remove to a plate covered in a paper towel, and let drain.

Cut into slices and serve over mixed greens, if desired.

.

Honey Mustard Dressing

Serves 2

one heaping tablespoon of yellow mustard
two teaspoons honey
one tablespoon olive oil
one teaspoon mayonnaise
one to two teaspoons water

Combine all ingredients in a jar and shake to combine. (Note: if you have access to a microwave, heat the honey up for 15 seconds – it will mix in much more readily with the other ingredients.) Adjust seasoning to your preferences.

breakfast quinoa

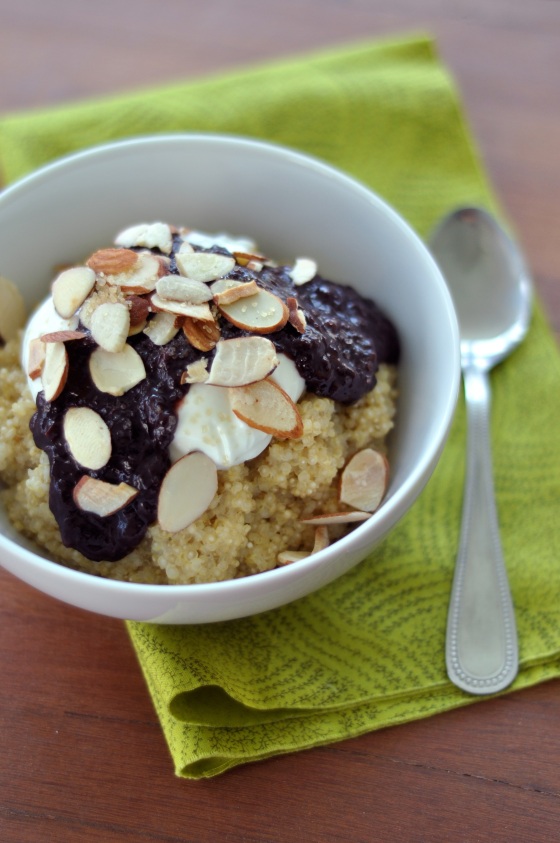
Breakfast Quinoa

So the other day, I wandered into my pantry (which is just a glorified word for the never-ending chaos that is my utility room – it just happens to have shelves and is right next to the kitchen) looking for some crackers… and it became clear to me. I mean, I had to gingerly remove and stack jars of chickpeas and brown rice on the floor. All to get to a box of crackers that was hiding behind a 5 pound bag of flour. In a moment of pure clarity, I knew. I needed a pantry clean out.

(I mean, there was some mild cursing when I almost knocked over a jar of dried currants, but mostly it was a moment of very dignified contemplation.)

One of the things I am drowning in is COPIOUS amounts of quinoa. I think I have like, 2 pounds. Which is basically – since quinoa is not very heavy in the first place – like a barrel of quinoa. Sure, there are about a million recipes for quinoa salads out there, but that just wasn’t what I was feeling.

I had tried breakfast quinoa once before, but I wasn’t thoroughly satisfied. Previously I had used rice milk and it just… didn’t do anything for me. It was pretty darn tasteless, in fact. I used regular milk here, but by all means experiment with almond or soy milk if that’s more your thing, and let me know how it turns out. And of course, this is mostly just a base recipe; you can add whatever you have in your crazy, over-stuffed pantry: nuts of all kinds, dried fruit if you have some, honey or maple syrup drizzled on top… the sky is the limit.

.

Breakfast Quinoa

Serves 2, easily halved

Gather: 
1 cup quinoa, rinsed until the water runs clear
1 cup milk
1 cup water
1 teaspoon vanilla extract
yogurt, to serve
jam or fresh fruit, to serve
toasted almonds or pecans, to serve
turbinado sugar or honey, to serve

Prepare:
Bring quinoa, milk, water, and vanilla extract to boil in a small saucepan over medium-high heat. Reduce heat to simmer and scrape down sides. Cook at a low simmer for 15 minutes, stirring every few minutes. Top with yogurt, jam or fresh fruit, nuts, and/or sugar or honey to your heart’s content.

gardening, fish or cut bait edition

Fish or Cut Bait Gardening 1

So remember what I said earlier? How I have no experience with ANYTHING having to do with gardening? Keep that in mind. Because of my insane nerdspaz tendencies, I own FOUR gardening books. FOUR. I had yet to plant anything (beyond the seed of doubt in my mind that any of this will be remotely successful, of course) until this past Sunday. I’ve probably spent more time on Google in the past few months than the people who WORK at Google. If there was a show for information hoarders, I would star in the first episode.

As I mentioned, last weekend I dug up all four of the garden beds, and also spent a few hours looking like an uneducated stalker at the local Southern States and nurseries. Seriously, I went to TWO local nurseries, and TWO different Southern States. And I asked for people’s opinions at every single place I went. At one of the nurseries, a woman implied that I might be biting off more than I can chew for my first year of gardening. (Actually, there was no implication. She straight just said, “you’re biting off more than you can chew.” I left after that.)

I stopped asking people for help after that.

Thus, my “fish or cut bait” title — which is really the Politically-Correct-Food-Blogger Version of another less-than-popular colloquialism that I decided not to use because I’m too classy because I was afraid people would be offended. Basically, I figured it’s time to stop asking questions and just DO SOMETHING.

Fish or Cut Bait Gardening 2

I think, out of sheer terror of not having a plan of attack, I’m going with the Square Foot Gardening technique this year. It’s good for newbies like myself, and it keeps you organized and such. I figure later on, once I get my bearings, I can change it up if I see fit. So at 4 beds each measuring 8 feet by 4 feet, I have… 132 squares to fill with plants.

My first thought was something along the lines of, WOW THAT’S A LOT OF SQUARES. Which was also my husband’s first thought, although our interpretations were somewhat different in a very men-are-from-mars-women-are-from-venus way.

Me: “Wow that’s a lot of square feet. Shit, I hope I can grow at least ONE tomato or else I’m going to look like a total ass.”

Brad: “Wow that’s a lot of square feet. I bet we’ll grow so much, we can sell the extra tomatoes to the neighbors for $6 a pound.”

Um, no, husband. You can go inside now. Go sit inside with your high expectations. Go sit inside where I can’t see you.

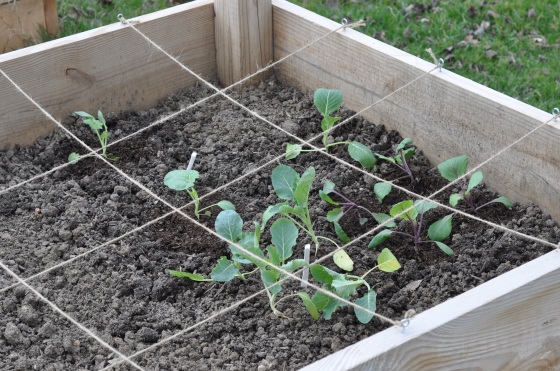
Anyways, here’s what has gone in so far:

1 square of lacinato kale (planted from seed on Sunday 3/4/12)
1 square of spinach (planted from seed on Sunday 3/4/12)
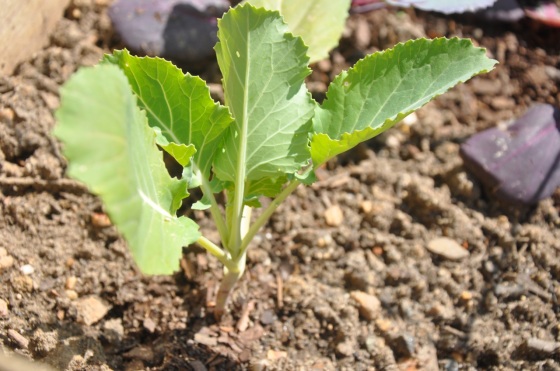
1 square of red cabbage transplants (planted Thursday 3/8/12)
1 square of mustard greens transplants (planted Thursday 3/8/12)
1 square of cauliflower transplants (planted Thursday 3/8/12)
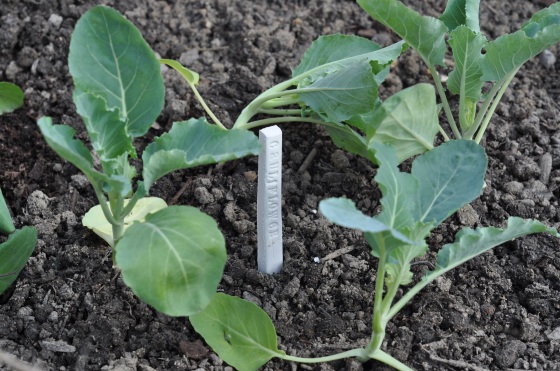
1 square of broccoli transplants (planted Thursday 3/8/12)
1 square of arugula transplants (planted Thursday 3/8/12)

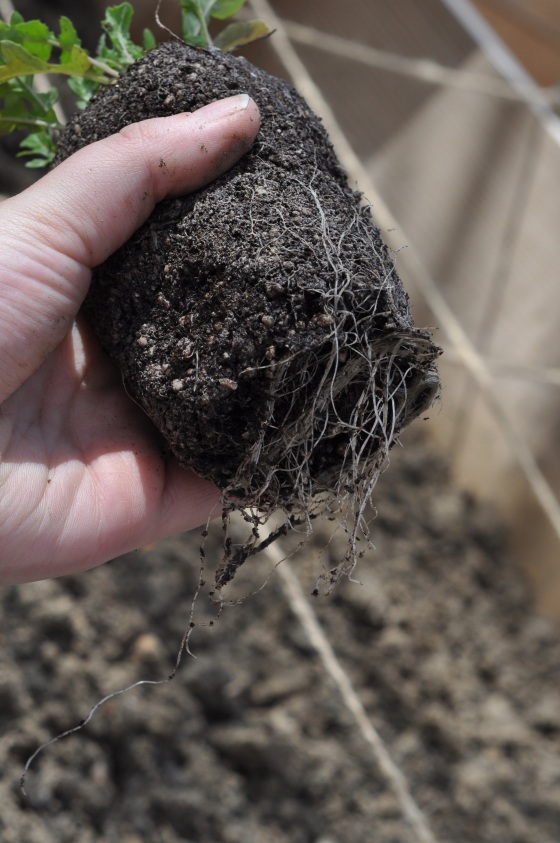
Have you ever heard the phrase “fake it till you make it”? I’m thinking I’m going to officially name my garden the “Fake It Till You Make It Garden” since I basically have no idea what I am doing. Case in point – transplants, how do you plant them? I heard somewhere you were supposed to tease the roots away from the ball of soil, so that’s what I did.

It’s been a week, and theoretically my spinach should have sprouted, but we did have a two nights with below-freezing temperatures this week, so I’m just going to give them the benefit of the doubt that they’ll show up soon. It makes you wonder about using wooden greenhouses sometimes. The transplants look much the same as the day they left the nursery, except now they’re in the ground.

Tomorrow I’ll plant beets, radishes, leeks, peas, turnips, and rutabega. And then after that will come carrots, lettuce, onions, and even some seed potatoes… whenever I figure out when to plant them.